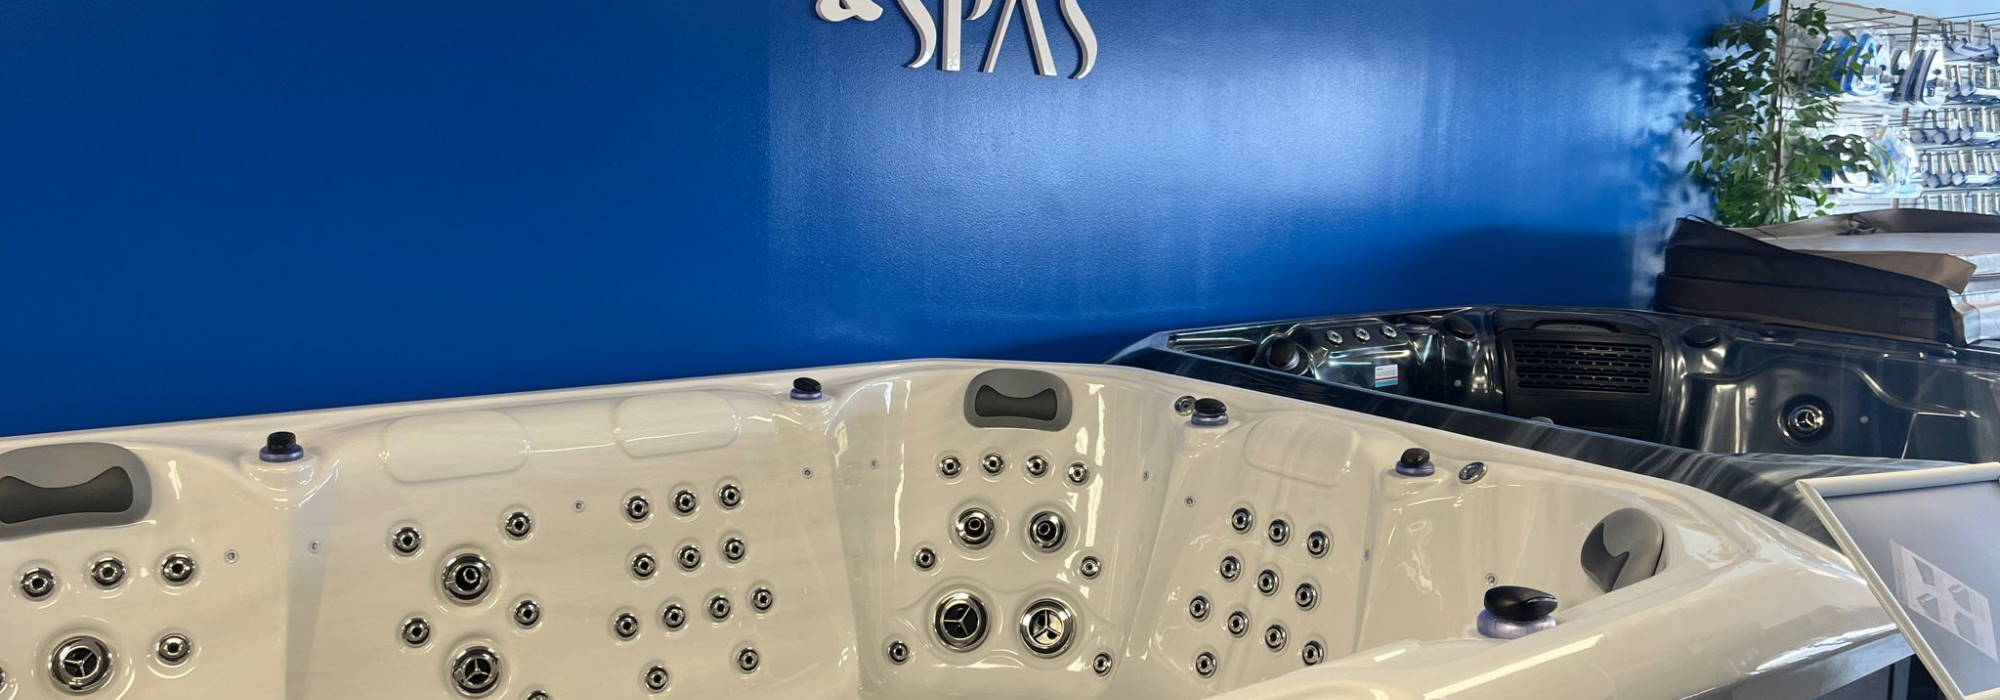
Hot tubs look simple from ten feet away, like big bathtubs that sparkle at night. Up close, they behave more like small buildings with plumbing, electricity, and weight that would terrify a deck not built for it. The difference between a hot tub that feels like a retreat and one that creates headaches usually comes down to two things most shoppers ignore while browsing hot tubs for sale: drainage and placement. Get those wrong, and you’ll be mopping, re-leveling, and apologizing to your neighbor for the damp corner of their yard. Get them right, and the tub quietly does its job for a decade.
If your search history looks like “hot tubs store near me,” consider this your field guide. I’ve installed, moved, and rescued more spas than I can count, from tight Winnipeg backyards to cottage decks that think they’re structural engineers. Let’s talk about siting a hot tub so it outlasts your enthusiasm, and managing water so it goes where you want, not where gravity decides.
Why drainage matters more than brand or jets
Most tubs get drained three to four times a year, sometimes more if you host a playoff party and your filtration system files for union protection. A typical 6 to 7 person spa holds 300 to 500 gallons. That’s the weight of a small car, dumped into your yard in minutes if you open the drain straight to daylight. If there isn’t a plan, the water will find low points, seep under slabs, saturate soil, and in cold climates form ice sheets that make you a legend for the wrong reasons.
Good drainage protects the base from frost heave, keeps the cabinet dry, avoids mold on nearby structures, and prevents standing water that attracts mosquitoes. It also saves the relationship with the person who shares your fence, especially if your yard slopes toward their finished basement.
The three drainage paths that work
Tubs come with a drain spigot near the base. It’s not meant to flood your patio. Think of three practical destinations for the water.
First, a direct connection to a yard drain or storm line. In many cities, you can attach a hose to the tub’s drain and run it to a designated yard drain or a municipal storm inlet on your property. This is easy, fast, and neat. Check local bylaws, because some places restrict where chlorinated or brominated water can go. Usually, if you let sanitizer dissipate for 24 to 48 hours with the cover open, the water is safe for storm systems and plants.
Second, a dedicated gravel trench or dry well. For lots without good hard drains, build a shallow trench filled with clear stone that leads away from the pad to a small dry well. Aim for at least 10 feet of separation from foundations. This approach spreads the volume, reduces erosion, and keeps your pad edges from washing out. I like a 12 to 18 inch deep trench, geotextile under and over the stone, then backfilled with decorative rock or mulch.
Third, controlled surface flow across a graded hardscape. If you’ve got a paved patio with a subtle fall, you can drain across it to a lawn or garden designed to receive water. The key is discipline. Keep the slope between 1 and 2 percent, and ensure the receiving area has healthy soil structure, not compacted clay. Otherwise, you’ve created a slip-and-slide that ends at your steps.
A quick anecdote from the frozen side of the map: I worked with a family in St. Vital who drained their spa across a slight dip on a flagstone patio. It looked harmless in September. In December, that dip turned into an ice tongue that moved like a glacier across the path to the garage. We graded a half-percent counter-slope and placed a pea-gravel channel beside the walkway. Two hours of work, problem solved for the rest of the winters.
Placement starts with weight, not view
A full mid-size hot tub weighs 3,000 to 5,000 pounds, sometimes more with big shells and eight bathers. A 7 by 7 foot footprint, at 5,000 pounds, is roughly 100 pounds per square foot. Most residential decks are not built to that as-is. Concrete pads, compacted bases, and engineered decks are the three acceptable options. “We’ll just stick it on the grass” is a sentence followed by rutting, settling, and swearing.
Concrete delivers the most stable result. A 4 to 6 inch slab, reinforced with rebar or wire mesh, placed on compacted granular base, is the gold-standard foundation. Keep it larger than the tub by 6 to 12 inches all around. If you’re in a frost region, insulate under or around the slab with rigid foam and isolate it from surrounding soils with proper drainage so frost doesn’t lift one corner.
Compacted granular bases are common for cottages and budget installs. Excavate 8 to 12 inches, place 3/4 inch minus crushed stone, compact in lifts, top with a finer layer for a smooth final grade, and optionally add large patio slabs for load distribution. This works well when access for a concrete truck is impossible. The trick is compaction. Rent a plate tamper and take your time.
Engineered decks can support a tub, but “engineered” is doing heavy lifting in that sentence. You need drawings, proper footings, and beam sizing based on the tub’s weight plus people. I have seen more than one beautiful red cedar deck sag like a hammock because someone trusted “It’ll be fine” over math. If you’re set on a deck install, involve a structural pro. Your future self will be grateful, and your insurance will be unbothered.
Access, service, and how far you’ll carry chemicals
Romance says put the tub at the back corner under the big spruce. Maintenance says keep it within a short walk of the door, with at least one side accessible for service. Most tubs need 24 to 36 inches of clearance on the equipment side and 12 to 18 inches on the others. Leave space for a cover lifter to swing, and for a technician to remove panels without crawling through rhododendrons.
Think about the path in winter. In Winnipeg and similar climates, a 20-foot walk across unshoveled pavers at minus 25 is an endurance sport. You want a clear, non-slip path and a landing area where you can set a basket with test strips, a towel, and a jug of oxidizer without snow turning everything into slush. A motion light is worth its weight in lost flip-flops.
Finally, consider privacy and wind. A small privacy screen or a strategic 6-foot fence section can transform the experience. So can a wind block. Hot tubs lose heat when wind strips the warmth off the water surface. Even a modest barrier trims energy costs and keeps bathers from huddling like penguins.
Electrical reality checks
Every “hot tubs for sale” display has glossy lights and waterfalls. None of them show you the run from the main panel to the pad. Most full-featured spas want a 240V, 40 to 60 amp GFCI-protected circuit, hardwired in conduit, with a local disconnect within sight. Some plug-and-play models sip from a dedicated 15 to 20 amp 120V circuit, but they heat slowly and lose ground with the jets and lights running.
The electrician’s route matters. Avoid laying conduit in a path that will be trenched later for drainage. Coordinate service entry, conduit runs, and pad edges. Weatherproof the disconnect, and mount it where snow from the cover doesn’t bury it. If your region freezes hard, keep conduit below frost or isolate sections to avoid heave at fittings.
A small detail that prevents nuisance trips: keep low-voltage accessory wiring separate from the GFCI line, and don’t share circuits with outdoor lighting. Spas are divas about clean power.
Local rules and water chemistry disposal
Municipalities have opinions about where spa water goes. In many Canadian and northern U.S. cities, the rules are simple: dechlorinate first, then discharge to storm, not sanitary. Some areas want a neutral pH and a flow rate that doesn’t erode soil. When in doubt, ask your local building department or the store that services Winnipeg Hot Tubs. Staff who winterize tubs every fall know exactly how inspectors interpret the code.
If you maintain sanitizer levels modestly and let the tub sit uncovered for a day or two, free chlorine drops fast. Adding a small amount of sodium thiosulfate neutralizer speeds the process. Avoid draining onto neighbor’s vegetable beds or right onto streets where it will sheet across sidewalks. It’s common sense mixed with courtesy and bylaws.
Slope: friend and enemy
A gentle slope keeps water moving, which is what you want around a hot tub pad. No slope at all and you get puddles under the cabinet. Too much and your base can migrate or your tub sits off-level. Keep the pad itself dead level, and the surrounding grade falling away at about Swim and Spas 1 to 2 percent. That’s an inch or two over eight feet, just enough for gravity to help without undermining the edges.
I often build a slight curb at the back edge of pads near hillsides. A 2 by 4 form edge becomes a low concrete lip that stops hillside runoff from sluicing under the tub after a storm. Tie that lip into the landscape with stone or mulch so it disappears visually.
Where winter punishes careless installs
Cold exposes shortcuts. A tub set on an uninsulated concrete slab that acts as a heat sink will run its heater longer, and your power bill will rat you out. A base that isn’t well-drained will freeze-thaw like a slow-motion jackhammer, twitching the tub out of level by spring. Once a tub is even half an inch off, water line skimmers don’t skim properly, and the cover sits poorly, losing heat.
Wrap the base with rigid foam board before you pour, or install foam under the slab where codes allow. Insulate exposed gaps around the cabinet skirt after leveling, but keep vents and equipment access clear. And for goodness’ sake, don’t let snow pile against the equipment bay. Melt, refreeze, expand, repeat is a cycle that chews on control packs.
![]()
Deck edge placements and the myth of “flush is best”
Flush installs look gorgeous in magazines. Step out the patio door and the water appears at your feet, tidy and luxurious. Here is the reality: flush installs demand immaculate waterproofing and drainage planning, or the cavity becomes a damp grotto filled with leaves, spiders, and the occasional mouse that thinks the cabinet foam is a hot Airbnb.
If you go flush or semi-recessed, build a sump in the pit with a reliable pump. Tie in a drain line to daylight or a storm system. Provide cross-ventilation to prevent condensation damage to the deck framing. And create removable panels or hatches that let a human reach all sides of the cabinet. A sump float switch is cheap insurance. I have seen one failed union gasket empty 200 gallons into a tub pit in an hour. With a pump, it was a cleanup. Without it, a rebuild.
Concrete vs pavers vs crushed base: how they age
Concrete wins for stability and service if poured right. It loses style points unless you stain or broom-finish neatly, and it’s unforgiving if you need to adjust a quarter-inch later. Paver systems, when laid on a properly compacted base with edge restraints, can look excellent and let you pick up and re-level a corner years down the road. They do, however, have a million joints that invite weeds if you don’t use polymeric sand and regular maintenance.
Crushed stone bases are the most forgiving to install and modify, cheapest to build, and friendlier to drainage. Their weakness is time and traffic. Edges can ravel if you don’t contain them with timber or stone borders. Keep organic mulch away from the pad edge, or you’ll slowly add material that migrates under the cabinet. If I’m installing at a lake lot where aesthetics are rustic and budgets rational, a crushed base with large format slabs on top is a sweet middle path.
Getting a tub into tight yards
Placement starts with access. Measure gates, check for overhanging wires, note slope and obstacles. Many tubs arrive on their side on a dolly, needing a clear path of at least 40 inches, sometimes more. If that’s not possible, cranes exist for a reason. In Winnipeg’s older neighborhoods, we’ve craned over garages more than once. It looks dramatic, but the footprint is small, and a good operator will set the tub exactly on your pad like a coin on a bar top.
Protect existing landscaping with plywood paths. Plan the set so the equipment bay faces the side with the easiest service access. Think about where the cover folds. If it opens toward the house, it becomes a wind block for bathers. If it opens toward the fence, you get privacy but might block a walkway.
Water under the tub: friend if managed, enemy if random
No matter how perfect your pad, water will wander. Snow melt, rain, tub splash-out, and the occasional pump union drip will add moisture under the cabinet. Instead of pretending you can keep it bone dry, set conditions for quick escape. A thin layer of clean stone around the pad edges encourages water to disappear. A slight gap between the skirt and the hardscape lets air move. If you’re on a deck, keep the bay ventilated and never caulk the bottom seam of the cabinet skirt. Trapped moisture is the slow killer.
On a few installs, I’ve tucked a narrow French drain a foot from the pad edge that leads to a planting bed. Invisible in the landscape, but it catches the odd overflow and makes it look like you planned a spa-side rain garden. Which, in effect, you did.
Chemical sensitivity and what your plants think about spa water
Spa water is not as brutal on plants as people fear, provided you neutralize sanitizer before draining. A lawn can handle a 300-gallon drain if the flow is spread and the chemistry is near neutral. Shrubs tend to shrug it off, too. What they hate is sudden, concentrated flow. Use a hose to redirect and diffuse, and pick a destination with decent soil. Sandy or loamy ground wicks fast. Heavy clay in parts of Manitoba, on the other hand, turns into a shallow bowl. Slow the drain rate or divide it over two areas.
If your garden includes delicate perennials, aim for gravel, mulch, or a rock bed. The good news is balanced spa water is often close to neutral pH, especially if you maintain it well. The bad news is metals and scale. If you struggle with hard water, you’ll see crusty residue on rocks where you repeatedly drain. A quick rinse after draining prevents those white rings that make your hardscape look like a geology lesson.
Tilt, level, and the small myth of “close enough”
Shells are molded to distribute water evenly. Off-level tubs stress frames and stretch covers. A quarter-inch might be tolerable, half an inch is where you start noticing one jet zone gobbling air while the other side burbles politely. Always level the base, not just shim the cabinet. If you must correct a hair after the fact, use composite shims rated for exterior use and distribute them along supporting points, never just at one corner. Then plan a proper re-level when the season permits.
I once rescued a tub that had sat with a 3/4 inch tilt for two winters. The homeowner couldn’t figure out why the cover lifter arm creaked and the hinge wore out. The cover was torqued every time it opened, and the waterline marched across the hinge like a tiny saw. Two hours with a jack, shims, and a new base edge, and the silence afterward was priceless.
Where to put the hose bib and why you’ll thank yourself
You will drain and refill, even if you swear you’ll eke out one more month with shock treatments. Place a hose bib within coiling distance. Mount it at a height you can reach without stooping in snow. If you can, add a hot-cold mixing valve indoors and run a line to that bib. Filling with slightly warm water cuts hours off the first heat-up, and in winter it avoids a thin ice raft forming as you start the fill. Small luxury, big grin.
Smart store choices: what to ask when you visit
When you walk into a Winnipeg Hot Tubs showroom, pay attention to the practical answers, not just the sizzle. A good store talks about bases, electrical runs, and drain routing as much as massage jets. Ask for the equipment side orientation and clearance needs for the specific model. Ask how they handle winter deliveries. Ask about drain hose kits and whether they stock neutralizer. Ask if they coordinate with electricians and whether they’ve installed on your street. Experienced installers will know which alleys are tight, which lanes drift shut in February, and which properties share storm drains.
If you’re scanning options and thinking “I need a hot tubs store near me that does all this,” you’re on the right track. The best retailers sell the entire experience, including the unglamorous parts.
A short, practical checklist for drainage and placement
- Verify base plan: concrete slab, paver system, or compacted stone with edges, all level and sized larger than the tub footprint. Confirm drainage destination: storm drain, gravel trench or dry well, or graded hardscape leading to a safe lawn or bed. Map access and service: 24 to 36 inches on equipment side, cover swing clearance, winter-safe path to the house. Coordinate power: correct amperage, GFCI disconnect in sight, conduit routing that avoids future drainage lines. Plan winter realities: wind block, sump for pits, insulated or isolated slab, and a nearby hose bib for easy refill.
What happens when you skip the plan
Here’s the pattern I see when installs go sideways. The tub arrives, the crew sets it on patio slabs on barely tamped sand, the homeowner drains the first time and opens the spigot to the patio. Water finds a low edge, saturates the slab base, winter locks it in, frost heaves a corner, and by March the tub is out of level. Pumps start to cavitate when the intake side sits higher, the heater labors, and the cover sits proud on one corner. Every fix is harder than the previous because the foundation is compromised.
All of that is avoidable with a day or two of prep and a few materials that cost less than the entry-level stereo upgrade you didn’t choose. Drainage is infrastructure, not accessory.
A note on sound, light, and being a good neighbor
Water finds the easiest path, and so does sound. Place the tub so conversations and late-night laughter don’t pour through a neighbor’s bedroom window. Use fencing and soft landscaping as acoustic buffers. Light pollution is real. Aim any supplementary lighting away from other homes, and keep motion lights sensitive enough to help, not to startle. If you’re in a tight urban lot, a small pergola with a fabric canopy both blocks wind and contains sound, and it gives you a place to tuck a heater for shoulder-season evenings.
When to involve a pro and when you can DIY
If you’re handy and the site is straightforward, a DIY base and drainage setup is absolutely feasible. You’ll need patience and a plate compactor, a good shovel, and an eye for slope. When the site is complicated or you’re recessing, bring in pros. If the soil is expansive clay, if your yard pitches toward your house, or if you’re tying into existing drains, hire the experience. Repairs cost more than the original plan.
I always tell clients: the tub itself is predictable. The ground and water around it are not. That’s where the art and the insurance live.
For the Winnipeg crowd and cold-climate cousins
This city teaches respect for freeze-thaw cycles. If your tub sits near a roof edge, watch where icicles land. Protect the cover with a small drip edge or extend the eave with a discrete diverter so meltwater doesn’t hammer the vinyl. Keep a roof rake handy after big dumps. For pads near driveways, avoid de-icers that splash onto the skirt. Some products attack cabinet finishes.
Stores that specialize locally, the kind you find when you search Winnipeg Hot Tubs and see a familiar map, will know which neighborhoods have poor storm tie-ins and which have soil that fights drainage. Lean on that knowledge. A half-hour site visit before you pour anything will pay for itself many times over.
The last practical mile
By the time you hit the floor of a hot tub showroom, you’ll be tempted by LED packages and Bluetooth sound. Those are choices, not risks. The real decisions happen quietly in the yard before delivery. Choose a base that won’t budge, give water somewhere to go, line up power without drama, and keep service access honest. Treat drainage and placement like the foundation they are, and every soak will feel like a wise decision that you made once and keep enjoying.
If you’re browsing hot tubs for sale and zeroing in on a model, pause and sketch your site plan with arrows for water and boxes for clearances. Then take that plan with you to the hot tubs store near me that actually listens. Good retailers love customers who care about the unglamorous details. It tells them you’ll be a happy owner, not a regular on the service line.
Hot tubs reward foresight. A little grading, a thoughtful drain, and a steady base save you from winter surprises and spring repairs. Do that, and the biggest challenge left is convincing guests that yes, you’d also like a turn in your own spa.